


There’s a moment every founder knows all too well.
You’re staring at your product—maybe a fresh landing page, maybe the first version of your dashboard—and you’re thinking:
“Is this working? Will users get it? Will they enjoy it, or bounce in three seconds flat?”
These are not small questions. They shape how you launch, how you grow, how your brand is perceived. And unfortunately, in many startups, they’re answered far too late—after code is written, time is spent, and opportunities are missed.
But what if you could see the flaws before they cost you?
What if you could spot the friction points before launch—before dev, even—through a process designed not to decorate, but to reveal?
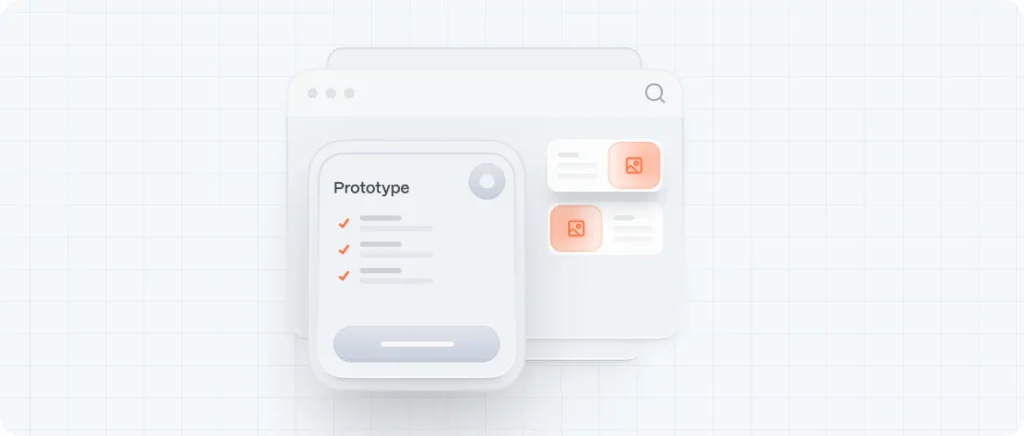
That’s the magic of UX prototyping.
It’s not just drawing screens—it’s about thinking, testing, iterating, validating. It’s how great interfaces are born: not from guessing, but from understanding.
At Evo Design Studio, we’ve worked with dozens of startups who came to us with ideas—and left with experiences. And at the heart of every transformation? Prototypes.
In this guide, we’ll walk you through what prototyping really means in UX design, how wireframes and fidelity levels play a role, and how to leverage this powerful tool to build products people actually want to use.
What Is Prototyping in UX Design?
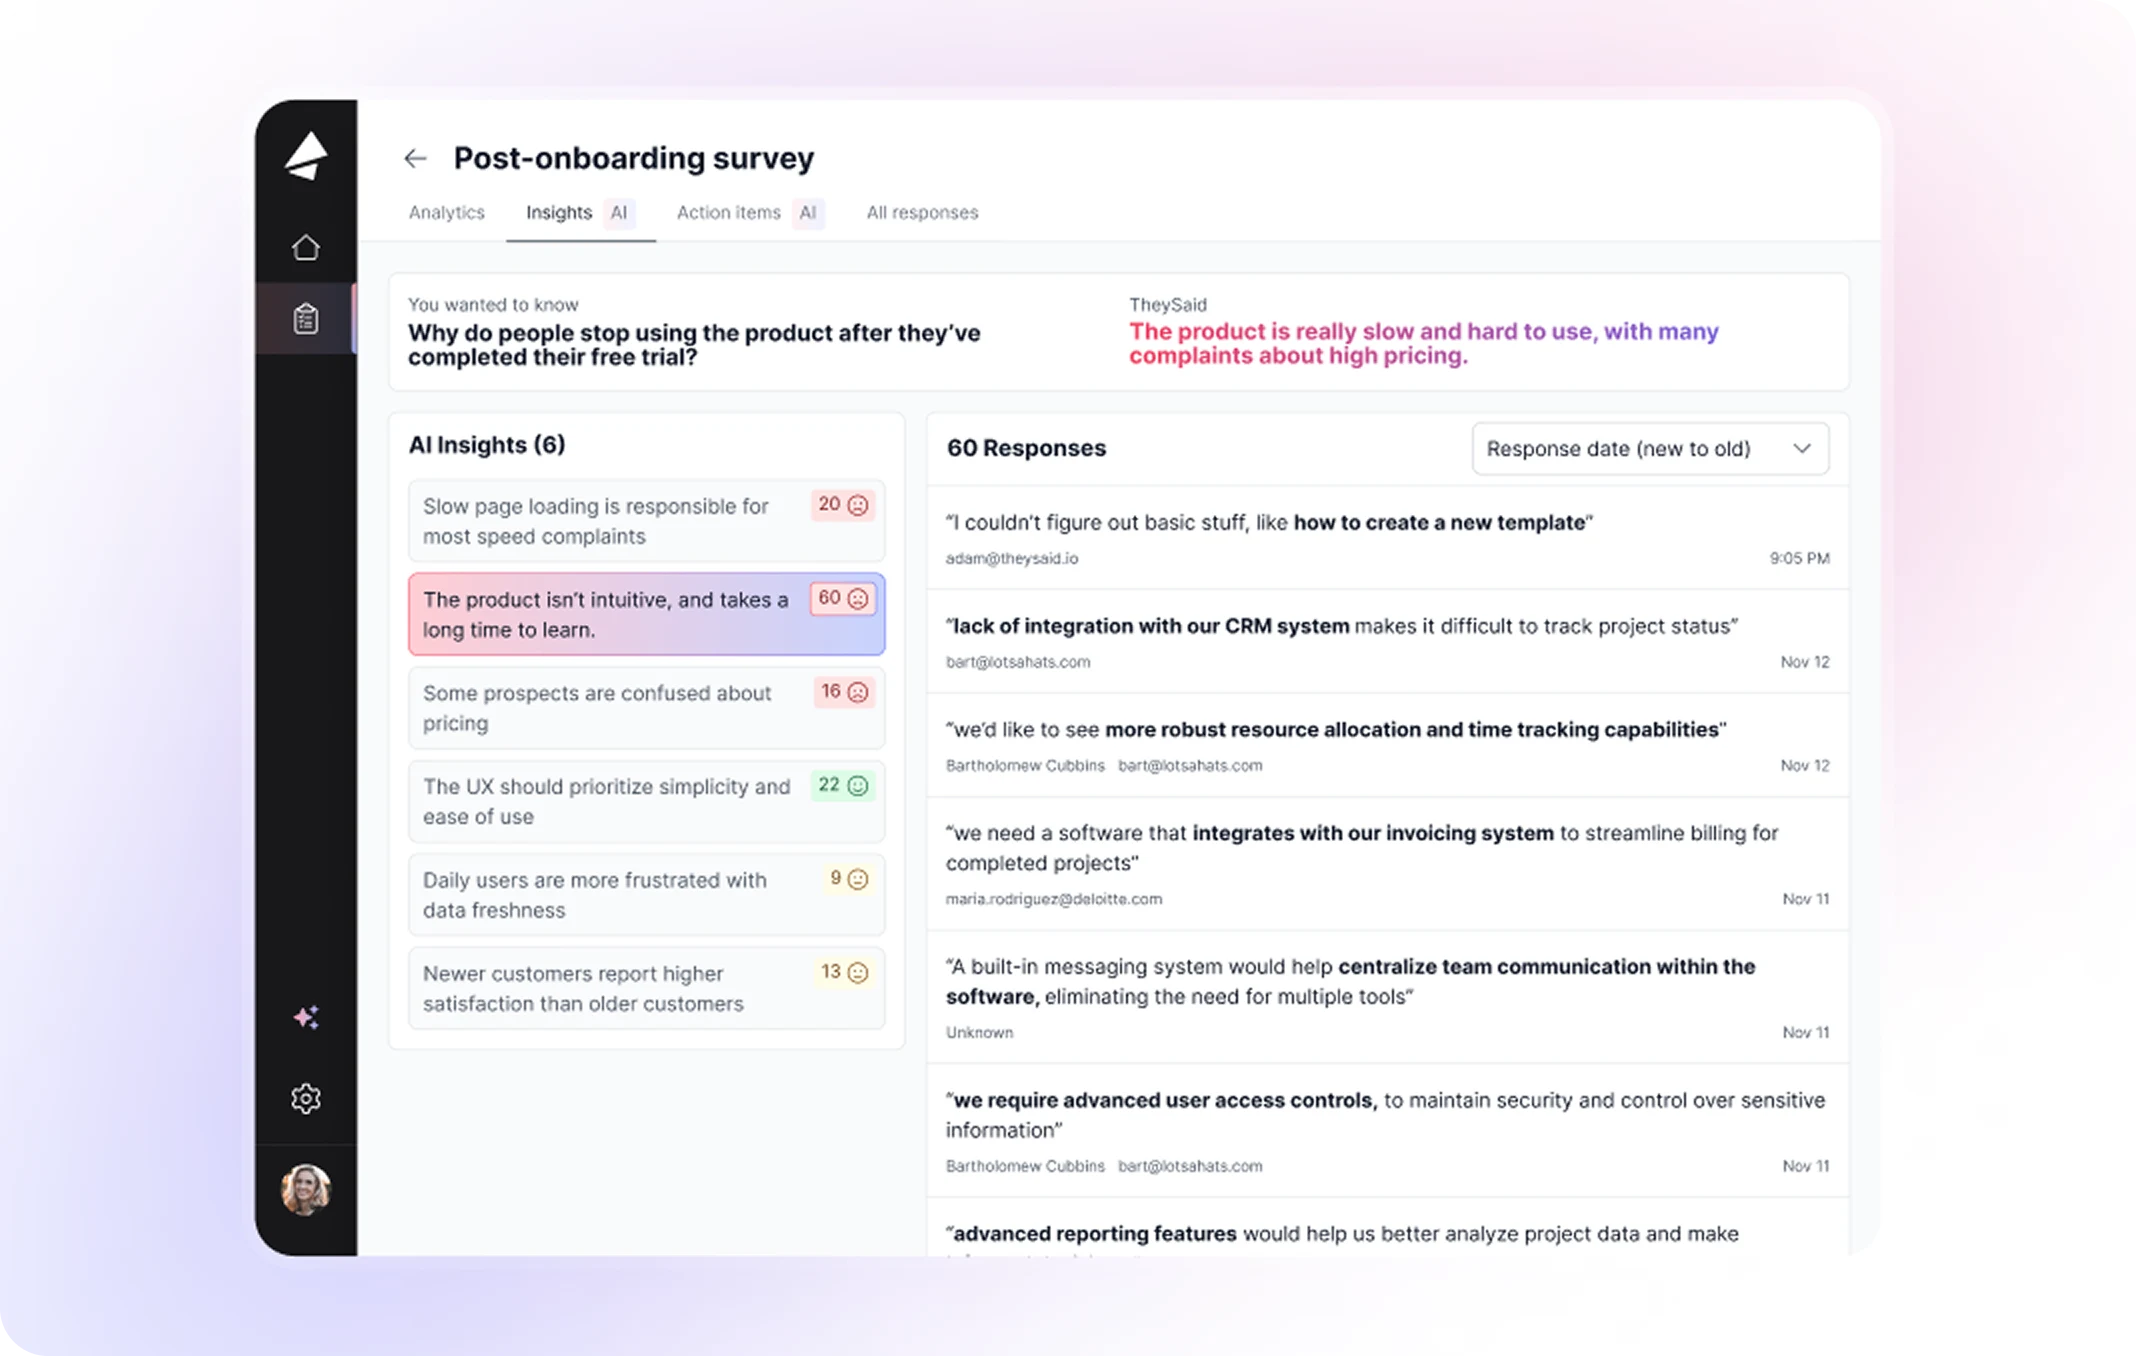
UX prototyping is the process of building a simplified version of a product or feature—usually interactive—to simulate and test how users interact with it.
This simulation allows designers, developers, and founders to test ideas, gather feedback, and improve the experience before investing in full development.
Prototyping helps you ask questions like:
- Does the navigation make sense?
- Can users accomplish key tasks?
- Is the language clear?
- Are the interactions intuitive?
And it helps you answer them with real user behavior—not just team opinions.
Why Prototyping Matters for Startups
Founders often operate in a high-pressure zone.
Speed matters. Budgets are tight. The pressure to ship quickly can lead to skipping steps. But in UX design, skipping prototyping is like building a house without a floor plan.
Here’s why prototyping should be a non-negotiable:
- Reduce Costly Mistakes
Finding problems in a prototype is 10x cheaper than fixing them in code. - Validate Ideas Fast
You don’t need to guess. You can see how users actually behave—and pivot if needed. - Improve Usability
Identify confusion, hesitation, or dead ends before launch. For more insights, check our article on usability design. - Align Teams
Prototypes bring designers, developers, marketers, and stakeholders together around something tangible. - Increase Confidence
Knowing your product has been tested—even in early form—gives everyone more certainty moving forward.
Types of Prototypes in UX Design
Prototypes vary based on fidelity—how detailed, interactive, and close to the final product they are.
Let’s break them down:
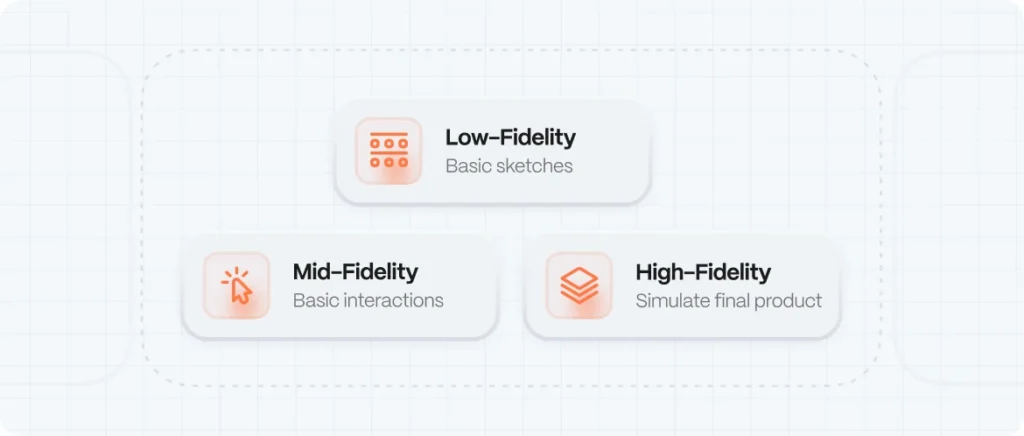
1. Low-Fidelity Prototypes
These are basic sketches or digital wireframes. They’re fast, cheap, and ideal for early idea validation.
Tools:
- Pen & Paper
- Balsamiq
- Figma (in wireframe mode)
Used for:
- Testing layout ideas
- Validating user flows
- Getting early feedback
Pros:
- Quick to create
- Encourages feedback
- Low emotional attachment (easy to change)
Cons:
- Limited interactivity
- Harder for users to imagine full experience
2. Mid-Fidelity Prototypes
More polished than wireframes, but still not the final UI. These often include basic interactions like clicks, transitions, and hover states.
Tools:
- Figma
- Adobe XD
- InVision
Used for:
- Testing functionality and logic
- Validating hierarchy and labeling
- Refining flow logic
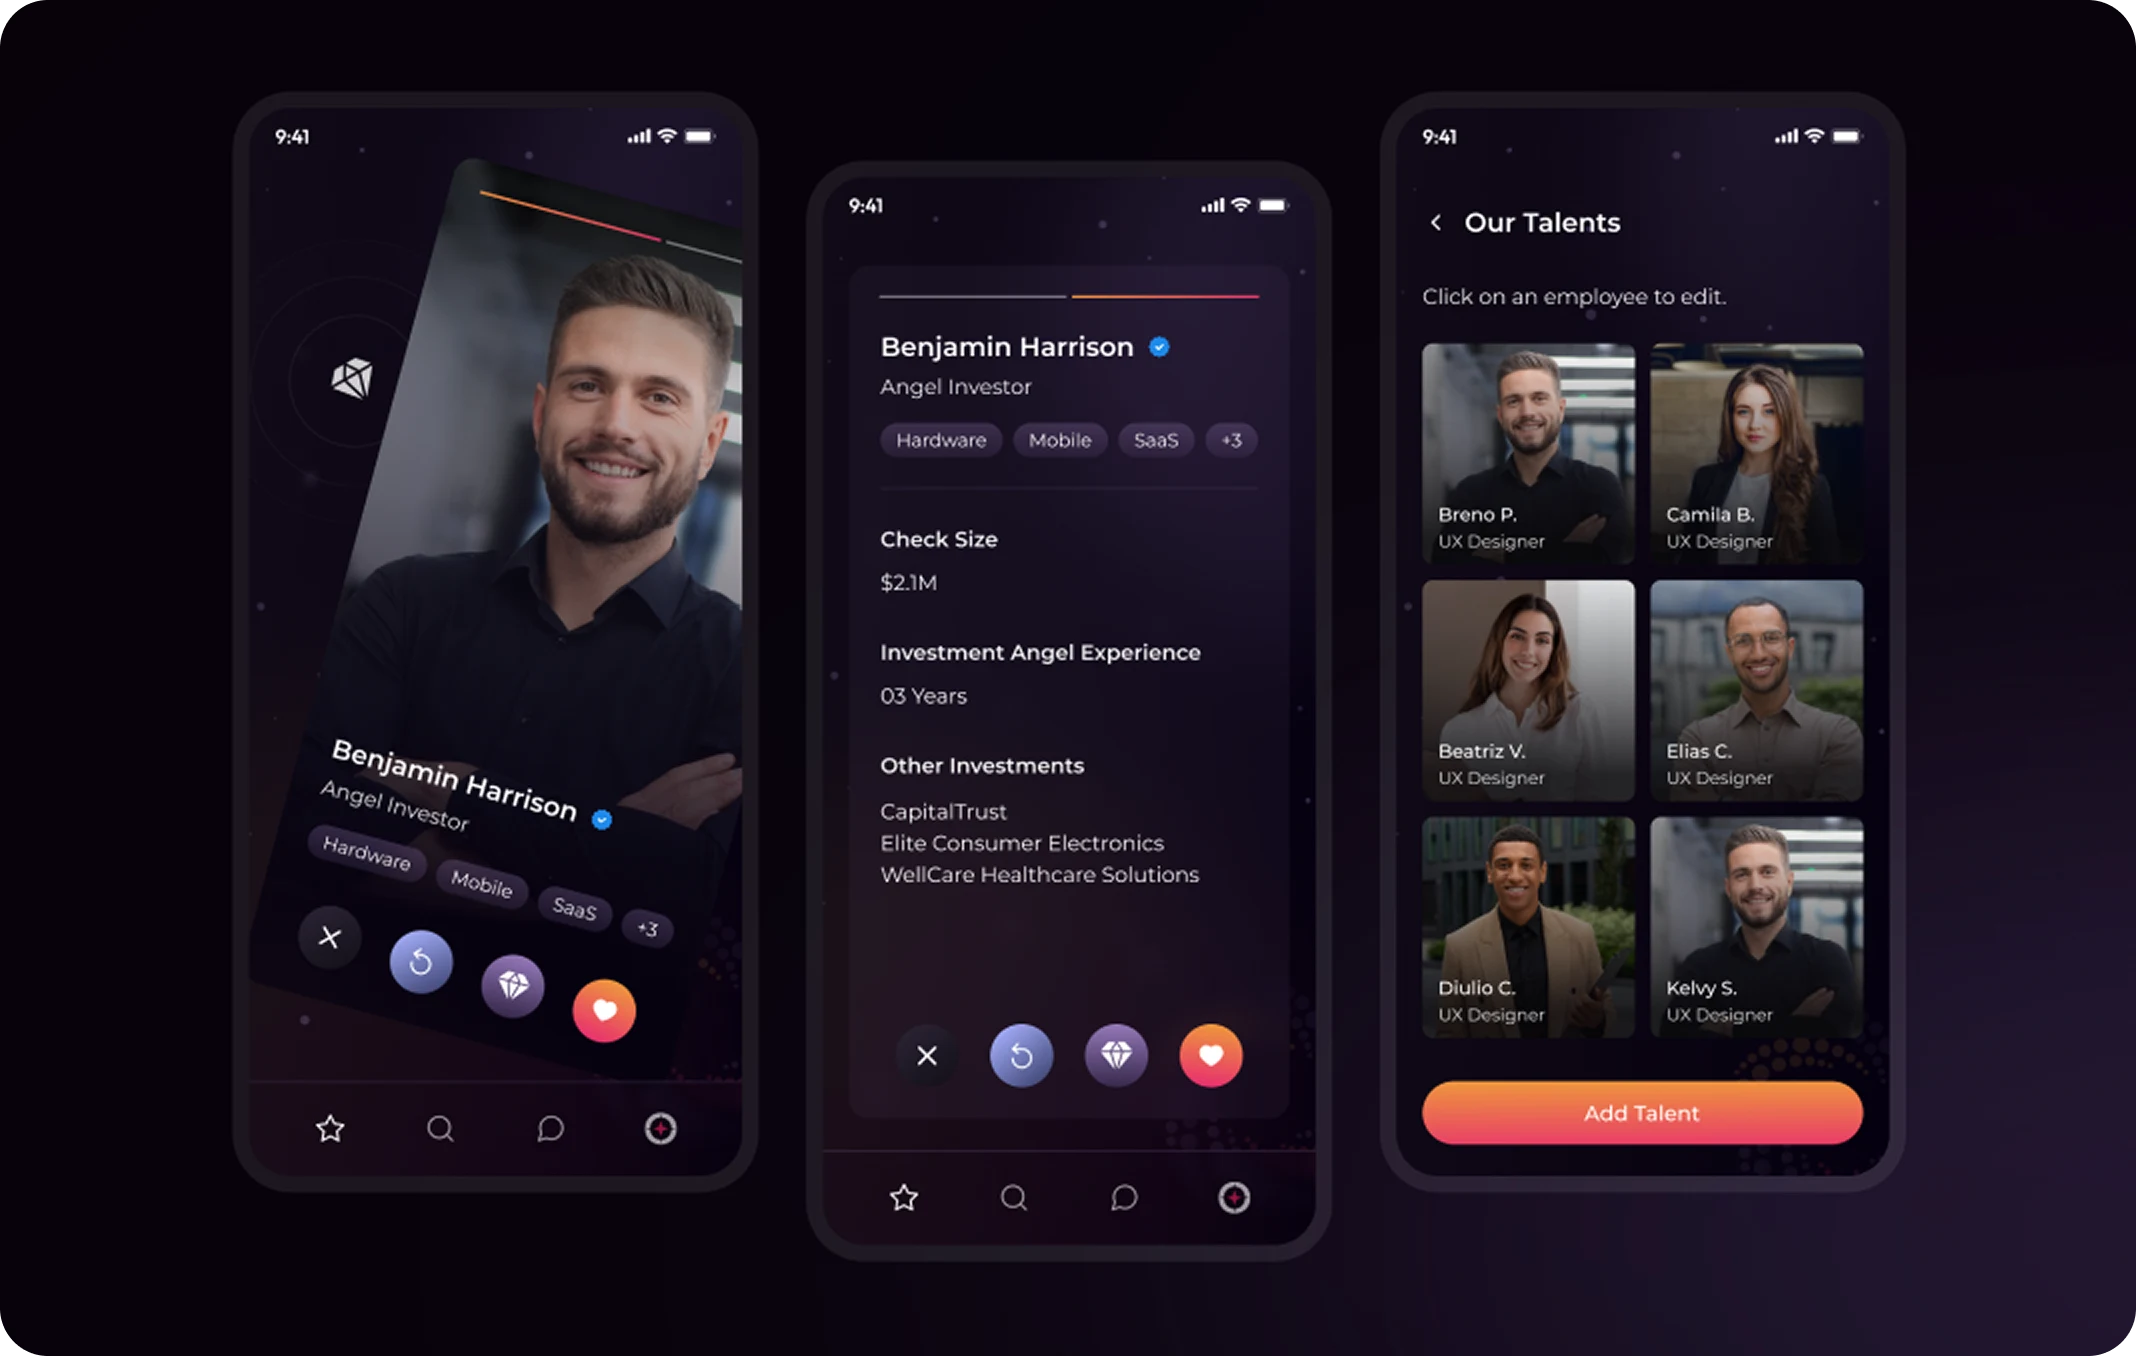
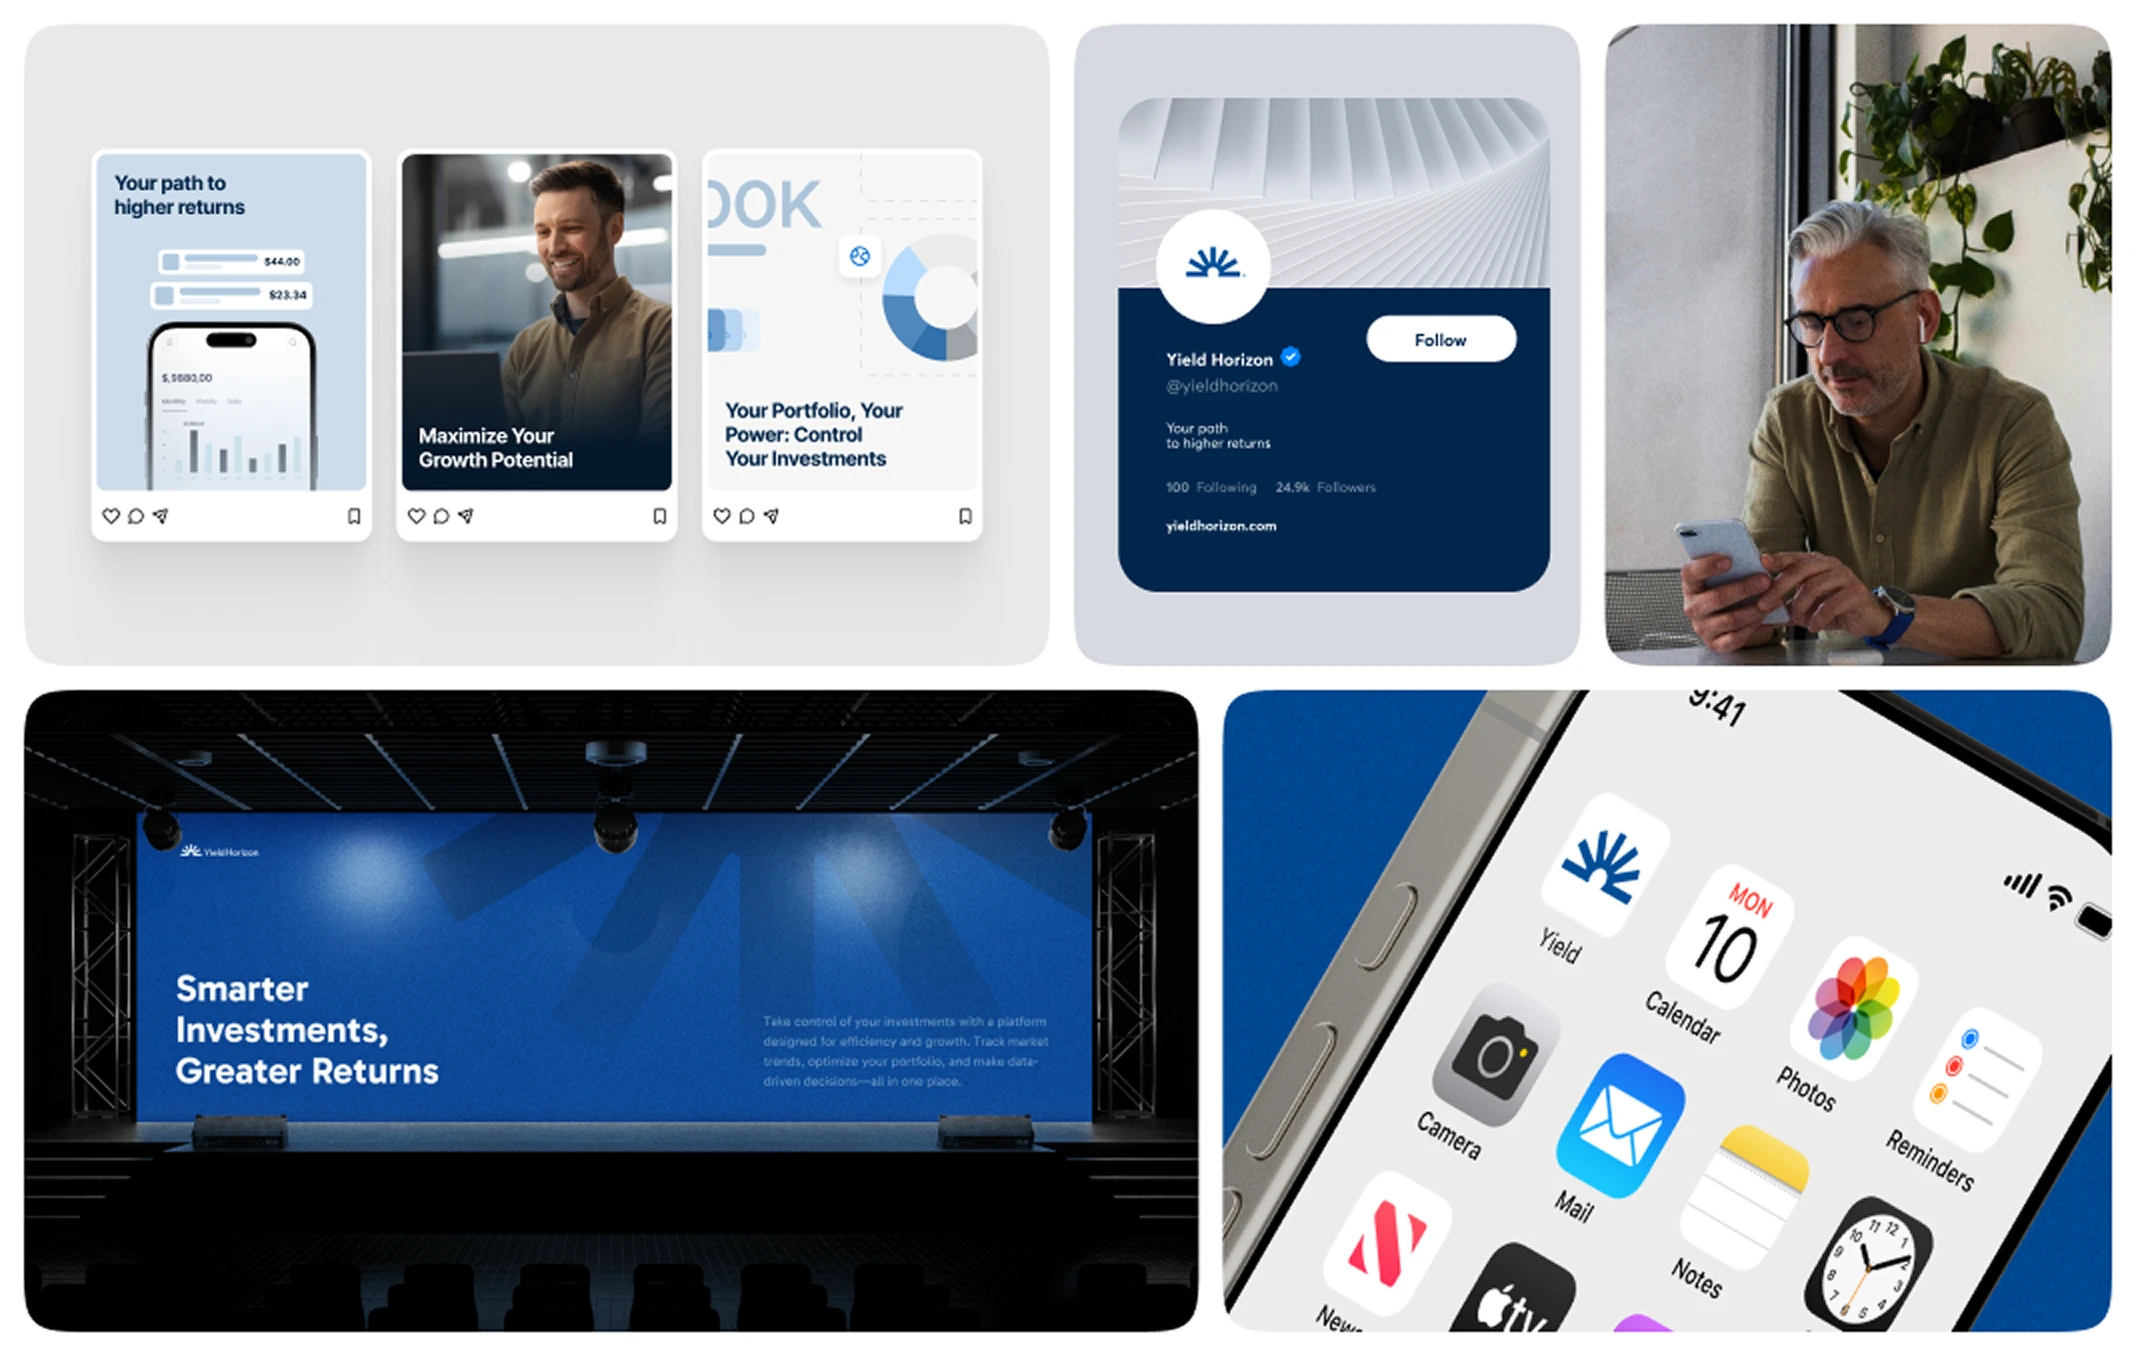
3. High-Fidelity Prototypes
These simulate the final product with full visuals, fonts, images, and animations. Often used for usability testing and stakeholder approval.
Tools:
- Frame
- ProtoPie
- Principle
Used for:
- User testing before development
- Developer handoff
- Marketing previews
Pros:
- Realistic
- Useful for testing usability
- Stakeholders can visualize final product
Cons:
- Takes more time
- May lead to feedback on visual details rather than structure
Wireframes vs. Prototypes: What’s the Difference?
| Wireframe | Prototype | |
|---|---|---|
| Purpose | Visual structure of a screen | Simulate interaction and flow |
| Interactivity | Static | Interactive |
| Fidelity | Low | Low to High |
| When to Use | Early design phase | After layout decisions or for testing |
Prototyping Process Step-by-Step
If you’re a startup founder or design leader, here’s a repeatable flow to embed prototyping into your product lifecycle:
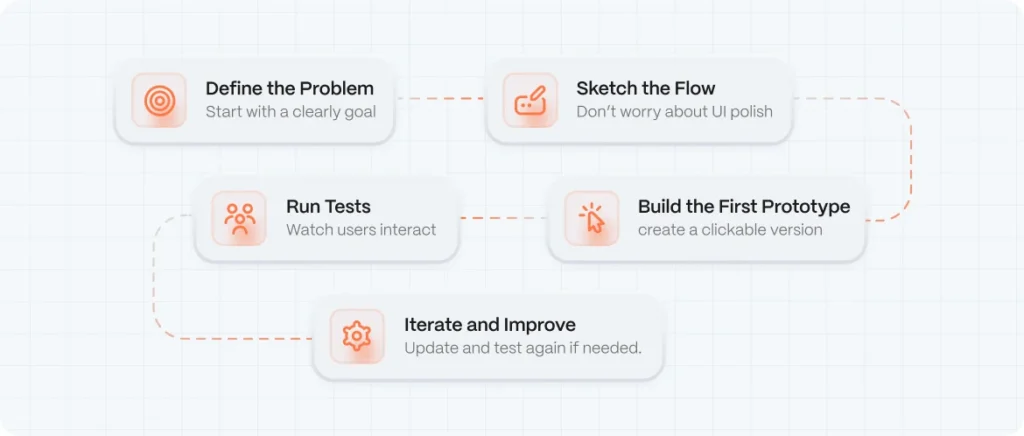
- Define the Problem
Don’t prototype in a vacuum. Start with:- A clearly defined user goal
- A pain point you’ve observed
- A task you want to test
Example: “Users are dropping off during onboarding—we want to test a simplified version.”
- Sketch the Flow
Use low-fidelity tools to sketch:- Entry point
- Key steps
- Decision paths
- Desired outcomes
Don’t worry about colors or UI polish—focus on structure and sequence.
- Build the First Prototype
Using your favorite tool, create a clickable version:- Start simple
- Link the screens
- Add hover/click interactions
Tip: Label each screen with a clear purpose (e.g. “Login with Email” vs. “Login with Google”).
- Run Tests
Now comes the most important part: watch real users interact with your prototype.
Ask them to:- Complete a task
- Narrate their thoughts aloud
- Share confusion or hesitation
Use remote testing tools like Maze, Lookback, or Useberry to gather recordings and insights. For more on user research, see our guide on UX research methods for startups.
- Iterate and Improve
What did you learn?
Did users click where you expected?
Were there moments of confusion?
Did your assumptions hold up?
Update the prototype, test again if needed. Repeat until clarity emerges.
Prototyping Tools We Recommend (and Why)
| Tool | Best For | Why We Love It |
|---|---|---|
| Figma | Wireframes to hi-fi prototypes | Real-time collaboration, easy sharing |
| Framer | High-fidelity, animation-rich testing | Feels like the real product |
| Maze | Unmoderated user testing | Test prototypes + get analytics |
| Balsamiq | Sketch-style low-fidelity prototypes | Great for early ideation |
| ProtoPie | Micro-interactions and gestures | Advanced interactions for mobile UX |
Common Mistakes to Avoid
❌ Skipping prototyping entirely to “save time”
❌ Getting too attached to the first version
❌ Testing only with internal team
❌ Overbuilding high-fidelity prototypes without validation
❌ Ignoring accessibility in early designs. Consider our article on accessibility UX design.
The Role of Prototyping in Design Sprints
If your team runs design sprints (or wants to), prototyping is the engine of momentum.
In a 5-day sprint:
- Day 1: Understand the problem, map the user journey, and define a clear goal.
- Day 2: Brainstorm, sketch ideas, and storyboard the best solution.
- Day 3: Build a prototype.
- Day 4: Test the prototype with users.
- Day 5: Analyze feedback and plan next steps.
Without prototyping, sprints lose power. With it, you can validate ideas before wasting weeks of development time.
Prototyping for Non-Designers: Yes, You Can
Founders, PMs, marketers—you don’t need to be a designer to prototype. Tools today are drag-and-drop, and with templates, you can build clickable flows in minutes.
Need a resource? Start with:
- Figma’s Community Templates
- Maze’s Testing Guides
- Webflow’s UX Starter Kits